At one time or the other you may find yourself needing to paint a plastered room. You may be a handyman who does this on the regular or you could be a DIYer trying to paint an accent wall. This blog piece should help you manage this process.
Getting ready:
The first important thing to do is to ensure you are ready for the challenge by preparing your environment. This can be done in the following ways:
1. Assemble the paint, brushes and rollers
2. Cover any precious items that are worth protecting from paint spots
3. Get a ladder for the high areas
4. Get masking tape for the corners and anywhere else you will need straight lines
5. Have a sanding mechanism
6. Have filler and a scraper with you in case you run into cracks.
7. Ensure your room is well ventilated
8. Have water and a towel for wiping spills
9. Have overalls for protection and dust masks especially if you are sensitive.
10. Check that the plastered walls are sufficiently dry before painting
In areas where walls are commonly done in masonry or bricks, you will find that the internal walls have been plastered using mortar to achieve a smooth render that can be worked upon. However, sometimes these renders are not usually smooth and will require the painter to do a skimming coat using filler to achieve a smooth finish. Skimming is best left to professionals.
Now we paint
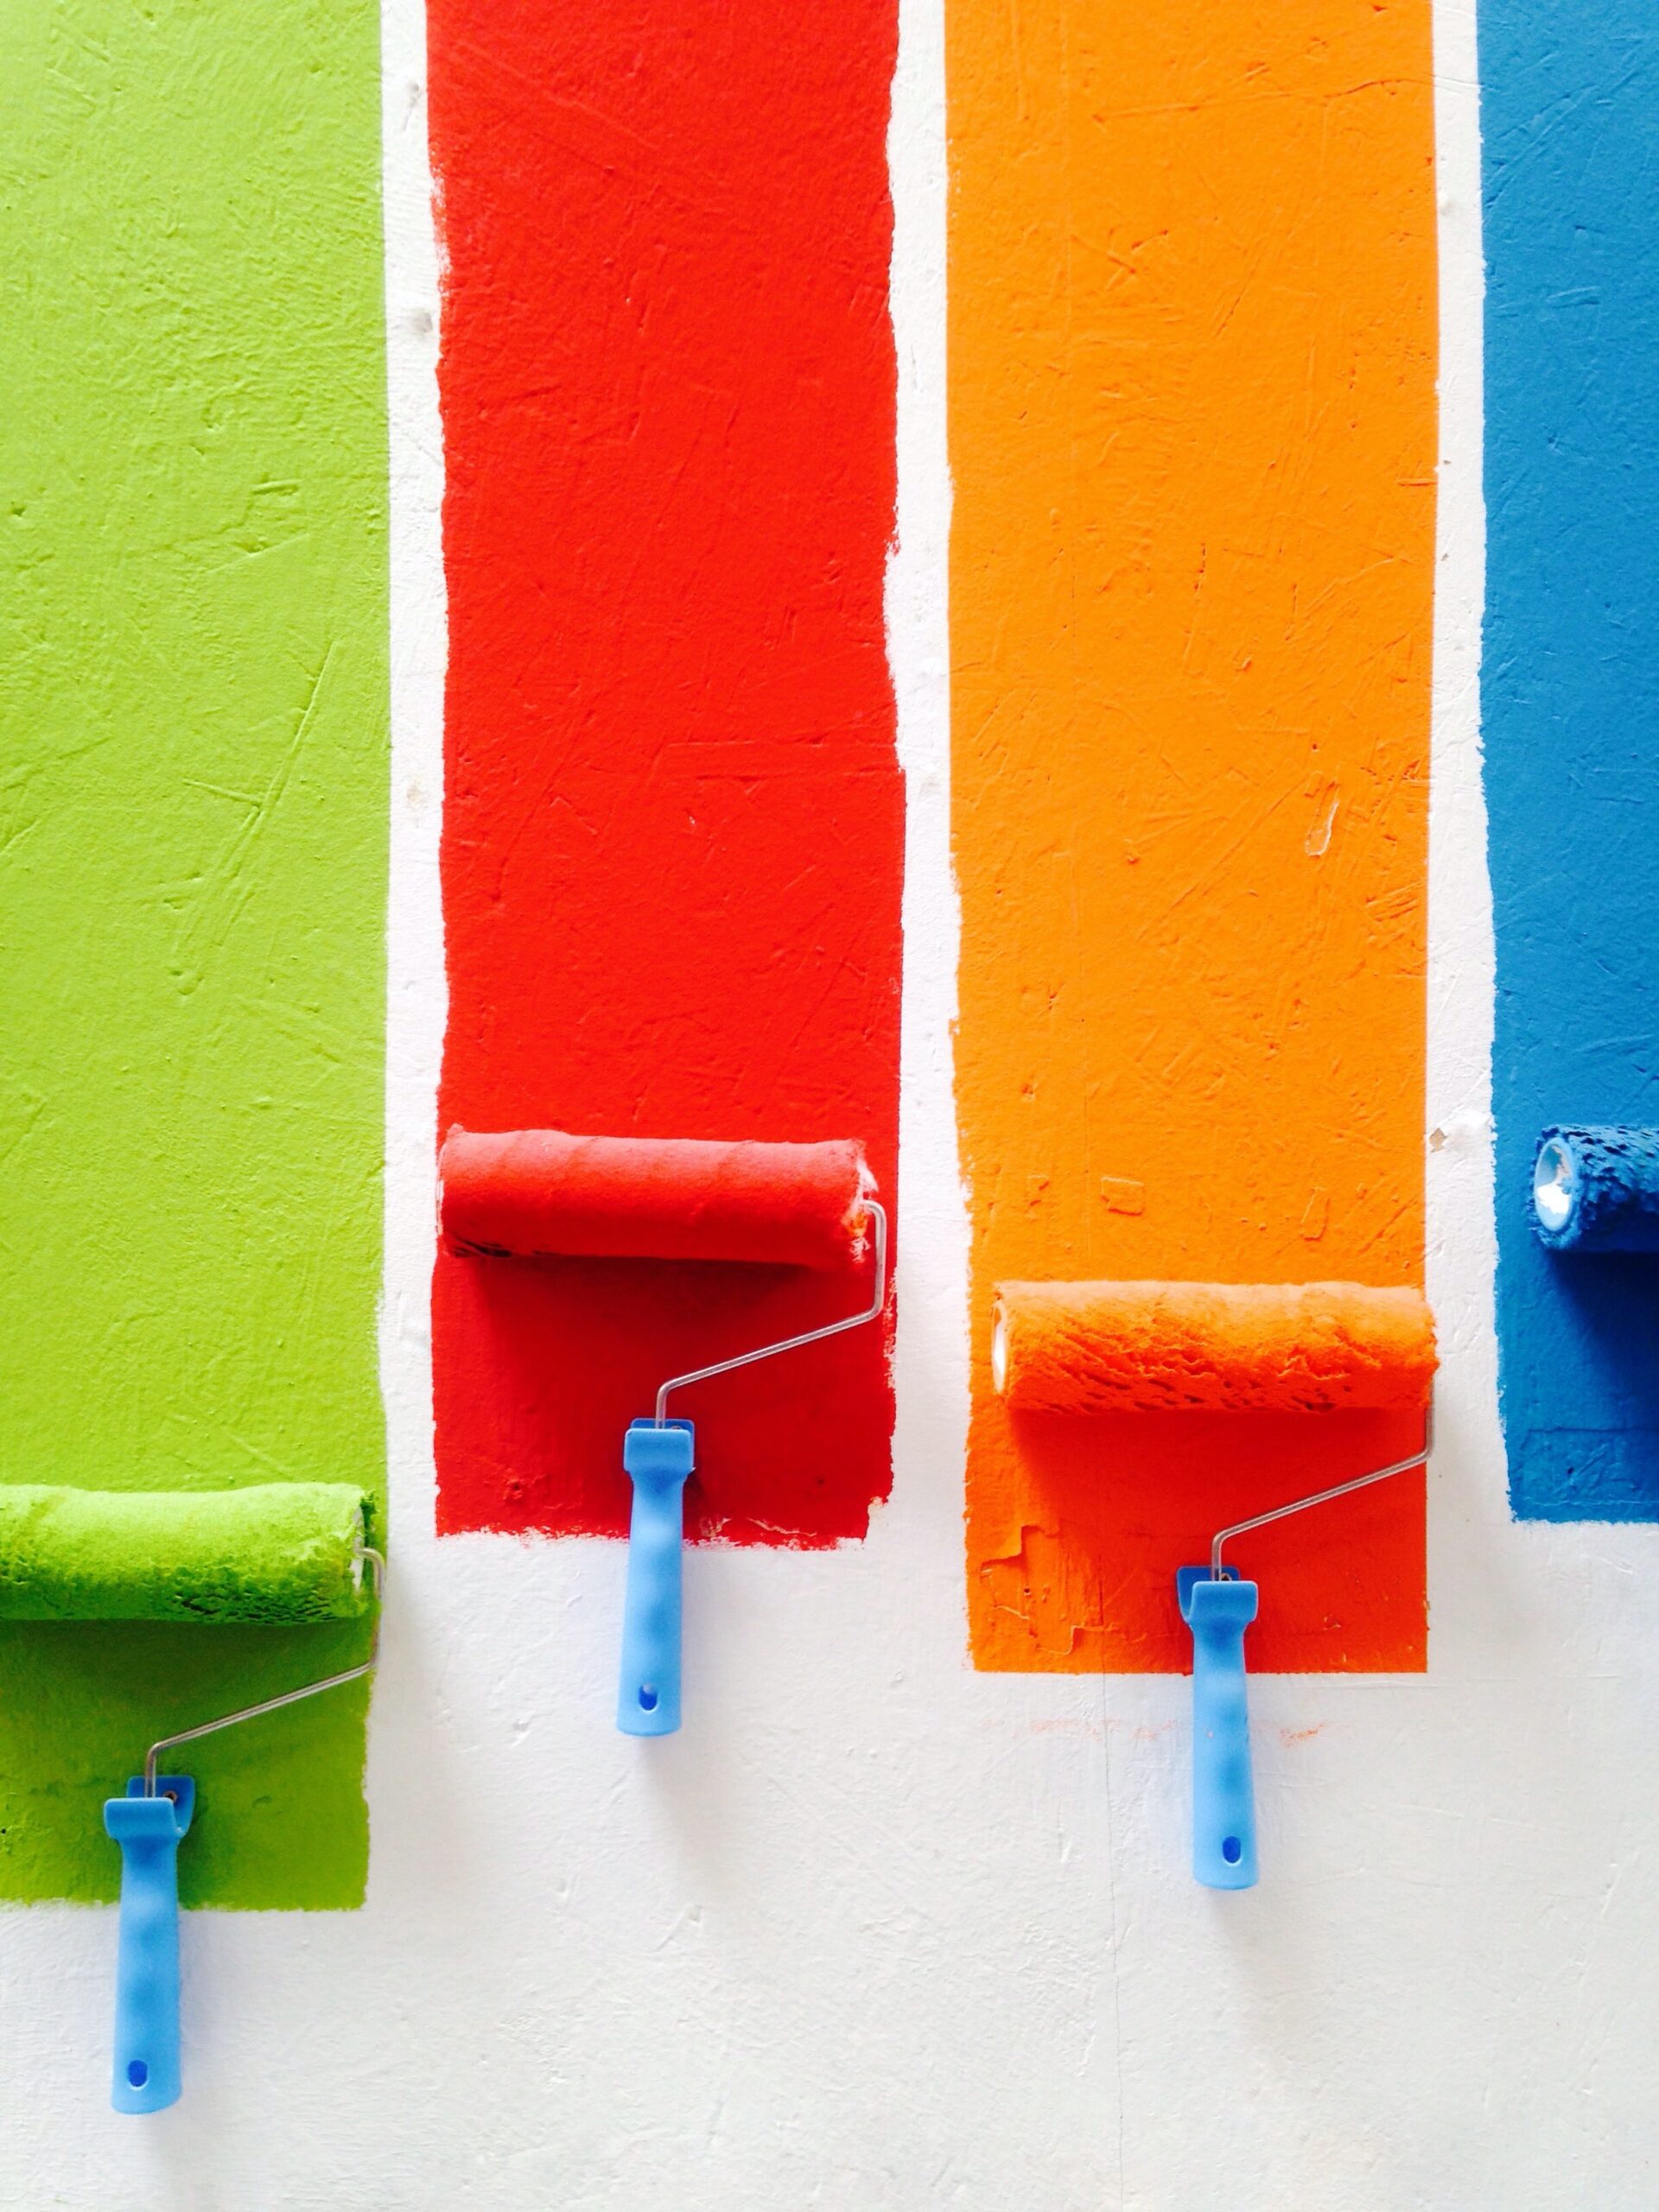
The first step is usually to apply an undercoat. Undercoats are typically white in colour and allow the final colour to sufficiently pop. Usually two coats of paint are best but for a new well skimmed wall you can get away with one. It is important to allow the paint to completely dry before adding the second coat. In a well ventilated room, this will take around 4 hours before the next coat can be added.
When the wall has been sufficiently primed, i.e, the tone of the room is even, the walls will be ready to receive the final coat. For new walls with no blemishes, luxurious finishes such as eggshell and silk look good. However, if your walls are aged, it is better to go with a matt finish as this helps cover up your mistakes. Don’t forget to paint a small sample area first before doing the entire room.
The final coat should be done slowly and precisely. Ensure that masking tapes are laid out at the corners and no drip marks occur. Do not wet the brush or the roller too much to avoid drip lines. Wait for your paint to dry and then apply the final layer of the top coat. That’s it! How simple.
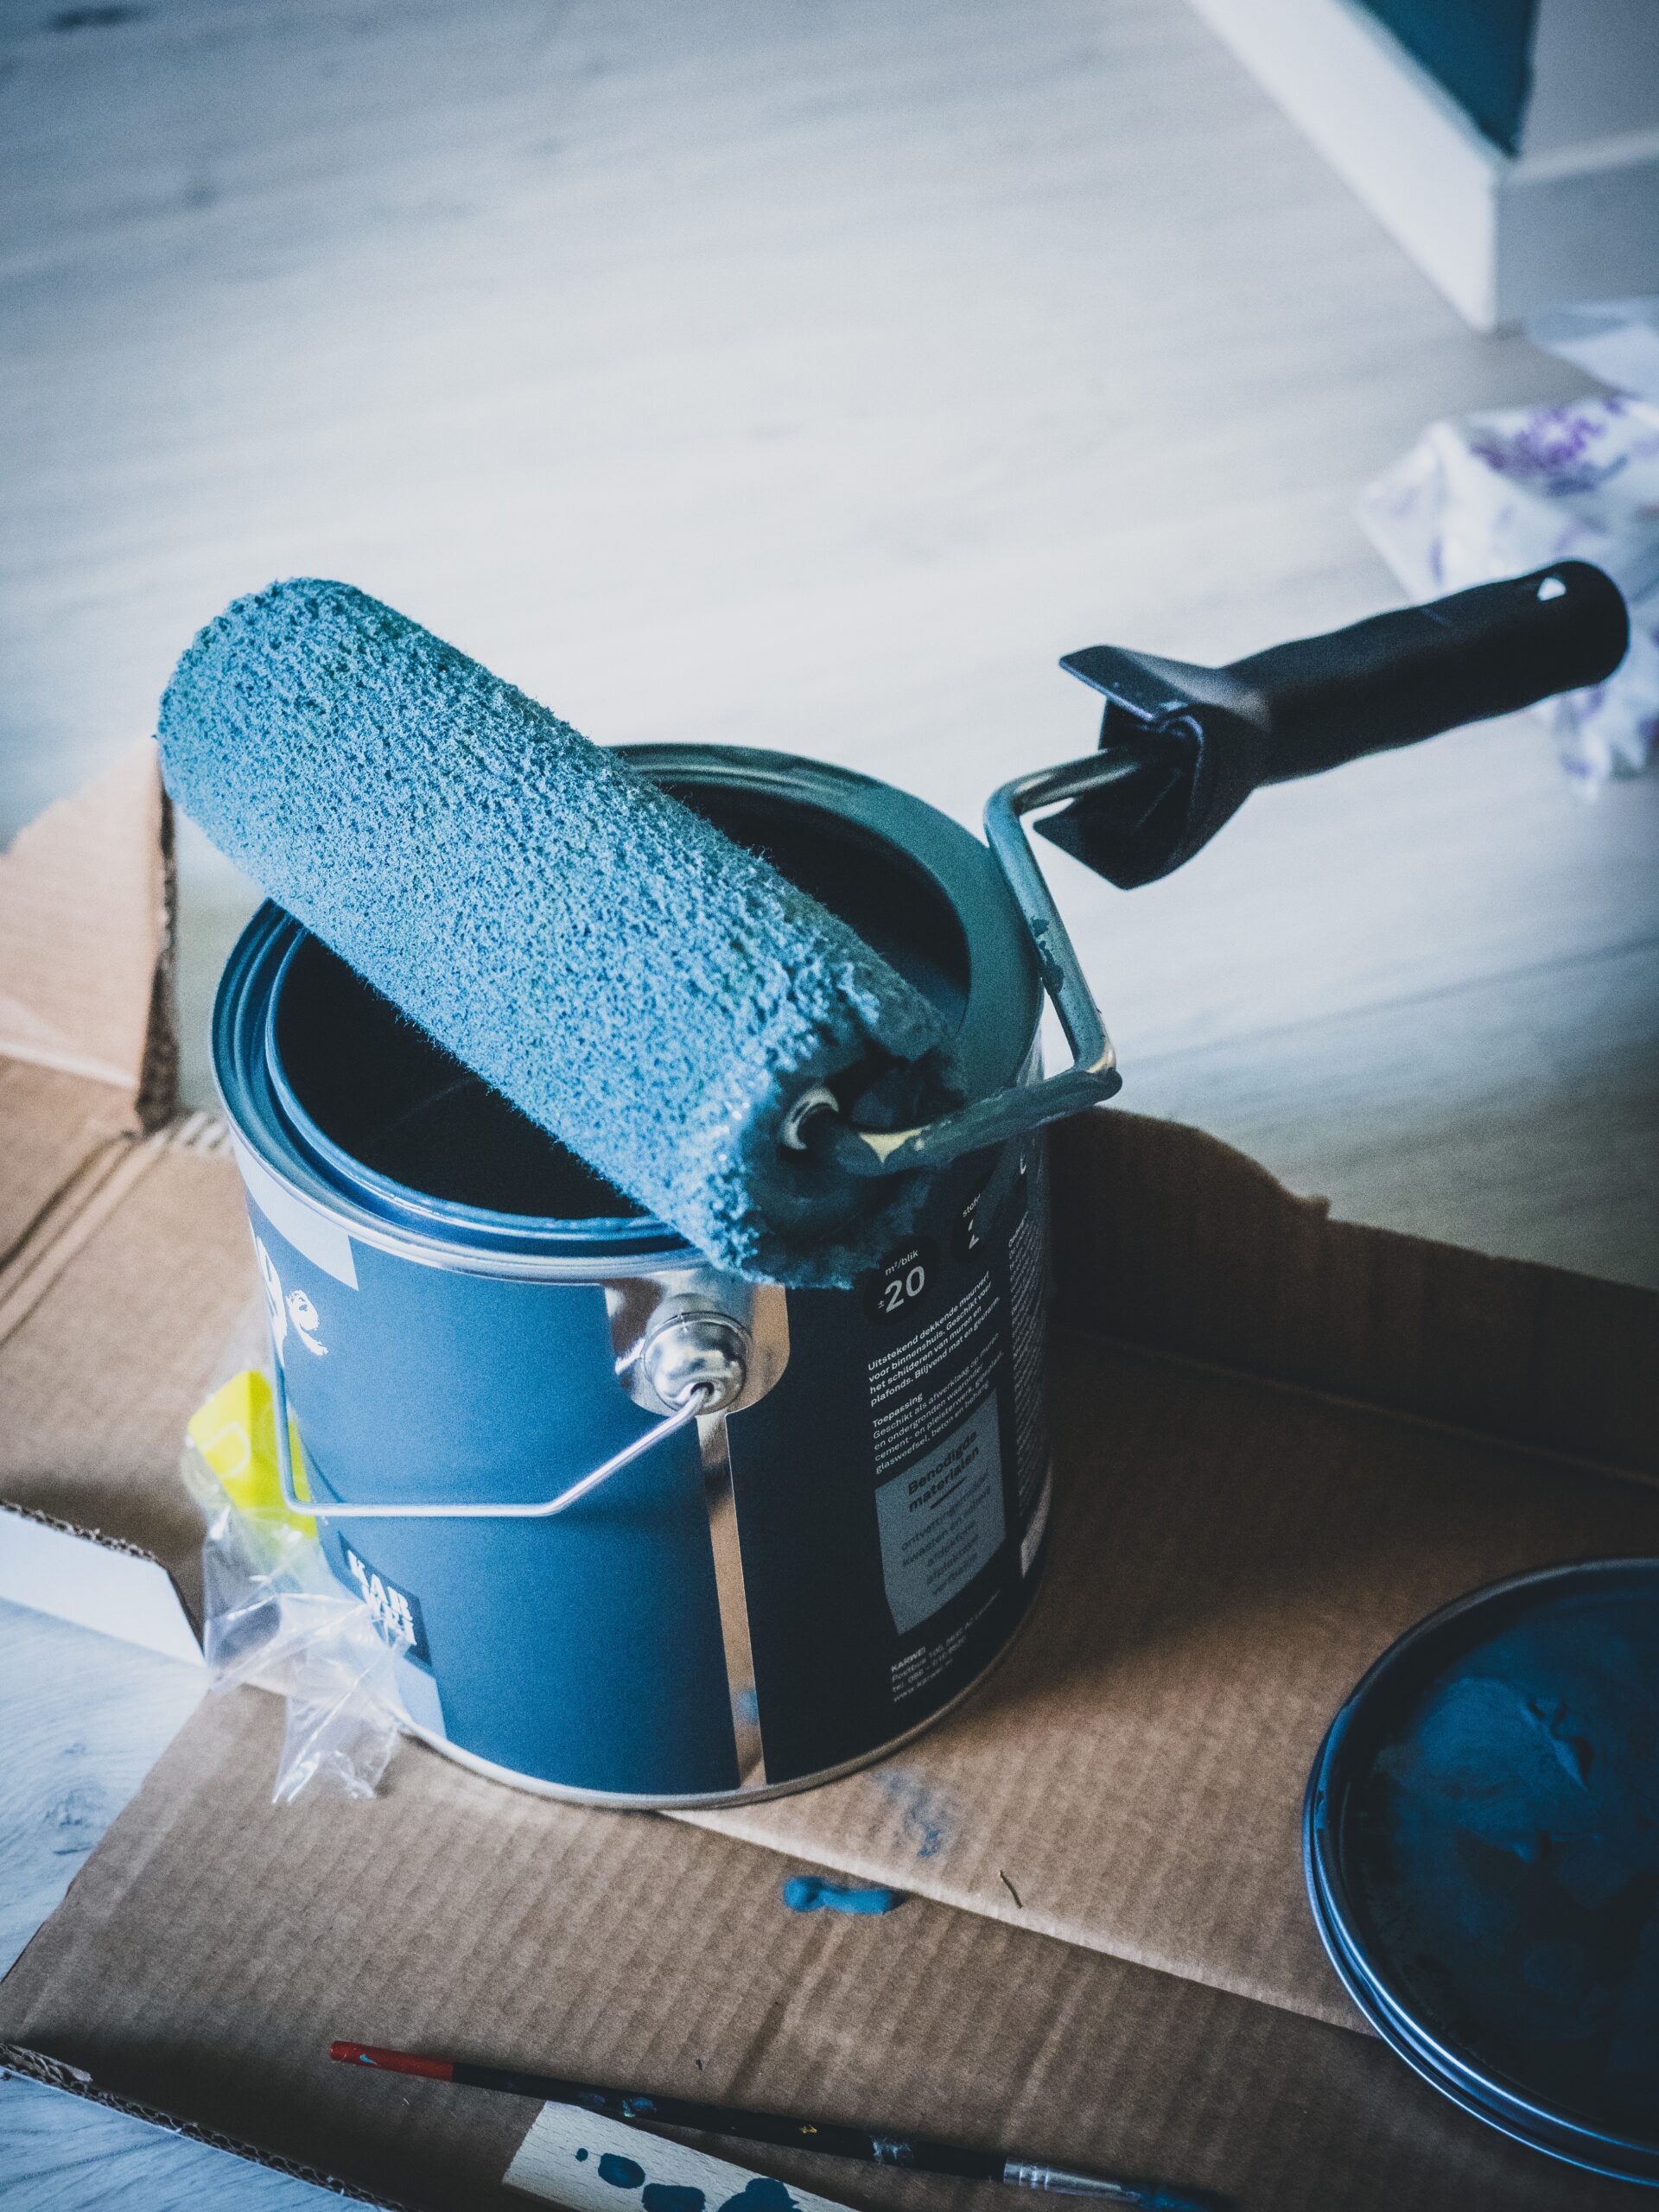
Changing a room colour
If you are working off an existing painted wall and wish to change the colour of the wall, say, you want to make a blue room yellow, this is what you should do.
To prepare the wall, ensure that it is clean, free from dust and any existing cracks have been filled and the filler sanded down leaving the wall surface smooth. You then need to paint the walls white in order to get a fresh base to work on and make the final colour pop.
It is common practise to use matt emulsion for this purpose(as a base coat) in preparation for the final coat. Once the existing colour has been sufficiently hidden away, usually after two coats of matt, you can apply your final coat to achieve a good finish.
Learn more about standard room sizes and best positions.
I hope this piece has been useful, Build wisely!


