Jenganami
  • Home
  • Construction
  • Decor
  • House plans
  • Construction Materials
  • Discover
  • Contact Us
Archives
  • May 2025
  • April 2025
  • March 2025
  • February 2025
  • January 2025
  • December 2024
  • November 2024
  • October 2024
  • September 2024
  • August 2024
  • May 2024
  • April 2024
  • April 2023
  • March 2023
  • February 2023
  • December 2022
  • October 2022
  • September 2022
  • August 2022
  • July 2022
  • June 2022
  • May 2022
  • March 2022
  • February 2022
  • September 2021
  • August 2021
  • July 2021
  • June 2021
  • May 2021
  • April 2021
  • March 2021
  • February 2021
  • January 2021
  • December 2020
  • November 2020
  • October 2020
  • August 2020
  • July 2020
  • June 2020
  • May 2020
Categories
  • Construction
  • Construction Materials
  • Decor
  • Design
  • Discover
  • one bedroom plan
  • Studio/Bedsit Plan
  • Three bedroom plan
  • Two-Bedroom plan
Jenganami
Subscribe
Jenganami
  • Home
  • Construction
  • Decor
  • House plans
  • Construction Materials
  • Discover
  • Contact Us
  • Decor

How to easily install a backsplash

  • September 21, 2022
  • No comments
  • 2 minute read
Share
Tweet
Share
Share
Share

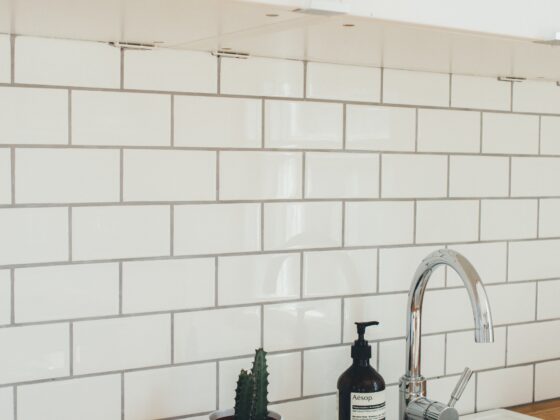
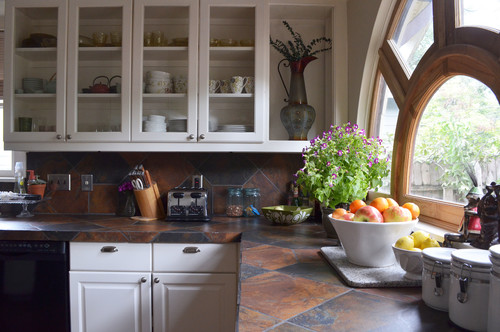
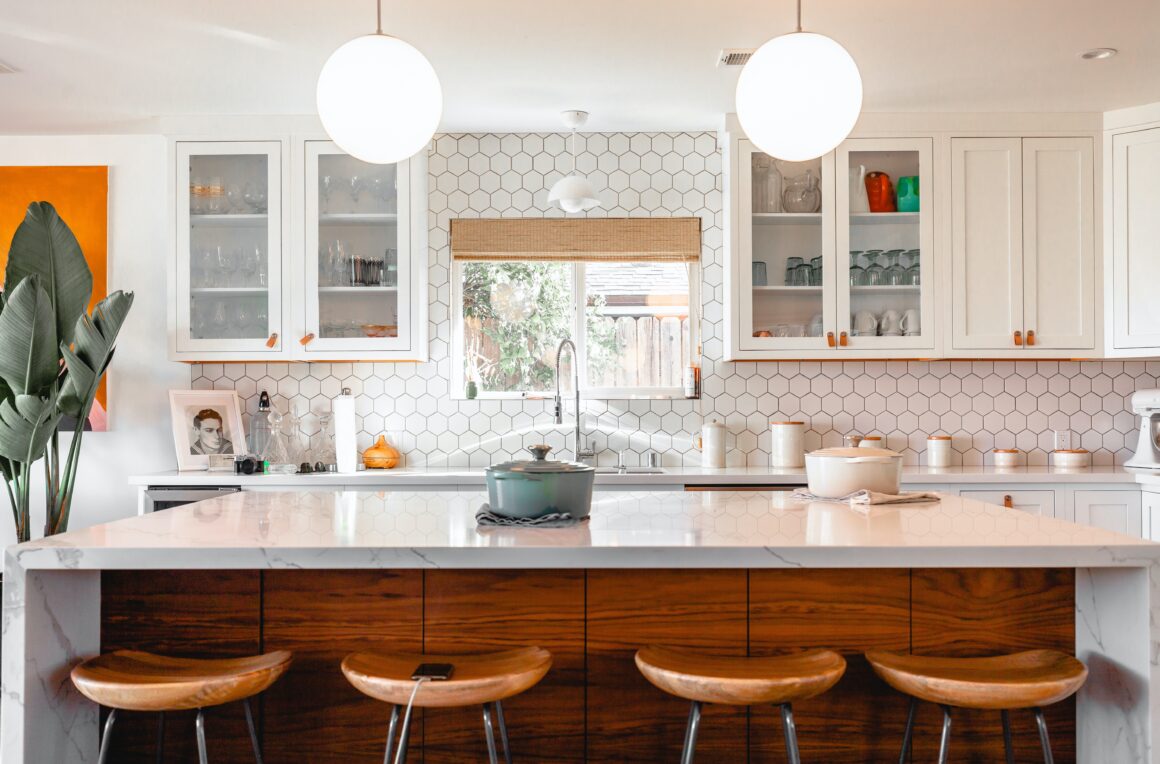
A backsplash makes high-moisture and high-heat areas simpler to clean. Backlashes are installed in areas such as kitchens or bathrooms. This attractive addition prevents moisture and stains. You may save money by installing your tile backsplash instead of hiring a professional. Backsplashes are built from lightweight materials like ceramic tiles to produce eye-catching designs.

Depending on the backsplash you’re installing, you’ll need different materials. Here are 11 items you’ll need for a DIY backsplash.
1. A tape measure that will help you measure the area for your tile installation.
2. Tile cutter: If you use ceramic tiles, you may require a tile cutter. Sandpaper may be used to smooth the edges of the tiles.
3. Backsplash adhesive like thin set mortar or tile mastic. Mastic is, however, not suitable for wet locations like bathrooms.
4. Lightweight ceramic tiles. Floor tiles are too heavy for backsplashes. Be keen to use walling tiles.


5. Notched trowel to apply glue on the wall for your tiles.
6. A level to ensure your tiles are level.
7. Grout to fill tile gaps. Pre-mixed or DIY grout is available, depending on your requirements.
8. Rubber float to apply grout between tiles.
9. Caulk to fill the bottom tile-to-countertop gap.
10. Safety goggles and gloves when cutting the tile.
11. Tile spacers to lay tiles evenly.

How to Tile a Backsplash

After gathering your tiling supplies, you may now install your backsplash. Here are step-by-step instructions for tiling your backsplash.
1. Measure the backsplash area. This can help you calculate how much backsplash material you need.
2. Before attaching tiles to the wall, test your tile design near your desk. You can even draw in electrical outlets and switches.
3. Clear your workspace of kitchen things. Unplug items or outlet coverings that may impede installation.


4. Measure and cut tiles to match your design template if you’re installing your backsplash. Wear gloves and goggles.
5. Mix your glue and apply it one little portion at a time. Too much glue will dry before you can tile. Notch your adhesive to produce ridges that will help your tiles cling.
6. Lay the first tile approximately an eighth of an inch above the countertop in the lowest corner of your workplace. Press and twist the tile into the glue to level and secure it.
7. Lay each row of tiles horizontally and work your way up. Space each tile. Let the tile dry for 24 hours.

8. Apply grout between tiles as directed. When applying, tilt the rubber float 45 degrees to cover seams. Let extra grout dry before scraping. After the grout cures, wipe up the excess with a damp sponge at a 45-degree angle, taking care not to wet the new grout.
9. Seal the bottom using caulk to fill the bottom space between the tiles and the countertop.
You are done! Now, whenever your family and friends see your kitchen and bathroom, they will be impressed by the unique backsplash.

Share
Tweet
Pin it
Share
Share
Share
Related Topics
  • backsplash
  • how to install tile on wall
  • how to install tiling
  • Items for tile DIY
  • wall tiling
Aka Nakwa

Previous Article
  • Decor

How to install ceramic tiles for beginners

  • August 25, 2022
  • Aka Nakwa
View Post
Next Article
  • Construction

How to build beautiful Zero Joint Walls: Construction process and cost

  • October 17, 2022
  • Aka Nakwa
View Post
You May Also Like
View Post
  • Decor
  • Discover
  • Three bedroom plan
  • Two-Bedroom plan

Amazing expandable home you can build with 1 Million Kenyan Shillings

  • Aka Nakwa
  • April 14, 2025
View Post
  • Construction Materials
  • Decor

Choosing a countertop material for your kitchen? What you need to know

  • Aka Nakwa
  • March 19, 2025
View Post
  • Decor

4 Easy tips and tricks to make your room pop using colour and perspective

  • Aka Nakwa
  • August 23, 2024
View Post
  • Construction Materials
  • Decor

Tiling Tips: How to choose Tiles you Love for Your Space

  • Aka Nakwa
  • April 12, 2024
View Post
  • Decor

How to install ceramic tiles for beginners

  • Aka Nakwa
  • August 25, 2022
View Post
  • Decor

Concrete sinks – Love them or Hate them?

  • Aka Nakwa
  • June 24, 2022
View Post
  • Decor

What you need to know about Expanded Polystyrene (EPS).

  • Aka Nakwa
  • March 20, 2022
View Post
  • Decor

How to arrange your bedsitter/Studio apartment like a pro

  • Aka Nakwa
  • September 10, 2021

Leave a Reply Cancel reply

Your email address will not be published. Required fields are marked *

Subscribe

Subscribe now to our newsletter

Jenganami
  • Home
  • Construction
  • Decor
  • House plans
  • Construction Materials
  • Discover
  • Contact Us
Your building Companion

Input your search keywords and press Enter.