Are you thinking of constructing a slab for your home? A concrete base for your floor is one of the best, more durable foundations you could go to. I will go through the advantages of building a concrete floor, then tackle it’s construction by answering some of the commonly asked questions about concrete floors.
Note that with the type of floor we are discussing in this article, the structure can be used for storage, hobbies, as a garage or as a workshop. This floor can also be used to hold pergolas and gazebos which create a comfortable outdoor living space.

If you are still weighing the options, these are the advantages of this type of base for your home:
– It is resistant to most weather conditions such as water and frost depending on where you live, as long as it is well done.
– Where you want to use the floor as a workshop or as a storage shed, the concrete floor comes in handy as you can easily support heavy machinery on it without risk of rotting below the machinery where you will not have continuous access.
– If you live in especially cold areas where the concrete can be cold to your feet, it offers a good flat area to support your timber floor or any alternative flooring types off.
– It is long lasting and therefore should only be used where you need a heavy duty kind of foundation type for your shed.
Now that you have settled on the concrete slab as your structure foundation, there are some key technical details you need to consider before building. Depending on your construction skill level you will be able to assess if this is a job that you can easily DIY or need to call in someone with more skills to do it for you. Most of the time, it is an easy job.
Ground assessment and impact on the construction process, and other design/construction decisions to be made before laying the slab:
1. Flatness of the ground
This is especially important in determining the flow of water around your structure. How is the slope/fall of the ground? Where does the water go when it rains? This will affect the top level of the slab as you want the top of the slab to be above the water level and the water to generally flow away from your shed. If any pooling occurs around your proposed shed area, this means you should either raise the slab, manage the water or just choose another shed location if you have options. It is always a good idea to raise the slab off the ground in order to prevent splash back.
2. Bearing strength of the soil
The easiest way to explain this is basically how much load the soil can carry. The type of soil in the area can be a good indicator of this. Avoid building the slab on fine loose sand, wet clay, and black cotton soil. Another indicator of this is the feel of the soil on your feet and the imprint left by the soles of your shoes. The soil should be firm on your feet and leave a shallow footprint, not more than 5 mm.
You can also check with the local construction community. It is important to know the depth of the soil so that in case the soil is not conducive for construction, you know how deep you would need to excavate to get to soft but firm ground that you can build on. Once you find this, the area can be backfilled with suitable ground material such as compacted murram or compacted hardcore on which the shed base can be placed.
3. Thickness of slab required
This will normally vary depending on the use of the area but generally slabs cast are usually 3 – 4 inches thick, (75mm – 100mm). If this is the first time you are building a shed, go for the 4 inch thick slab as this allows for more play.
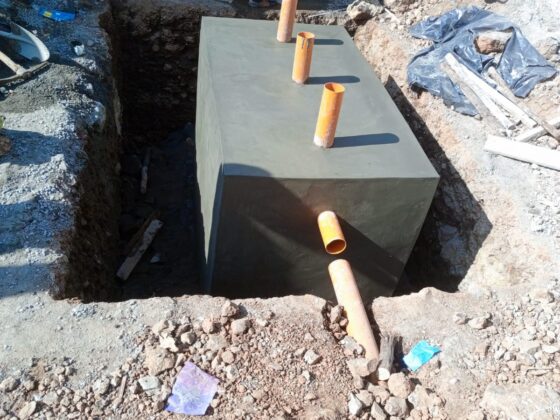
4. Frost level
If you are building in areas that are affected by frost, then it is likely that your floor slab will likely be below the frost level. Local building codes in these areas require that all building foundations extend below the frost line in order to minimize the impact of the freezing and thawing of the water in the ground below the slab. Therefore, in such a situation, concrete filled sonotubes should be allowed for at typically 1.2 m (4 ft ) centres. Sonotubes are cardboard structures in which concrete is poured to create solid concrete, cylinder shaped pillars which are used as you would screw piles to support structures.
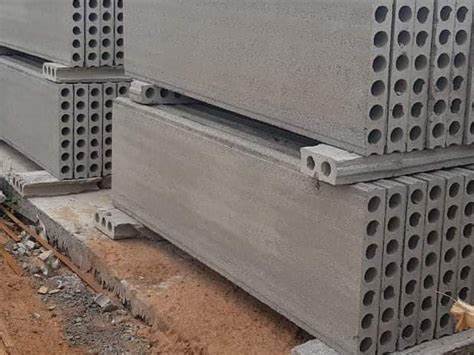
5. Reinforcement
While you can get away with pouring mass concrete without any reinforcement for your slab, especially when the shed is very small, it is advisable to always use nominal reinforcement. This reinforcement provides anti crack properties to the concrete slab and also increases the tensile properties of the slab. The most recommended nominal reinforcement is welded rebar 6mm diameter with 200mm spacing between the bars. Note that you should ensure that the concrete slab is well vibrated in order to preserve the integrity of the mesh for a long period.
6. Edge of slab
The last thing you would want is rain water undercutting your concrete slab when it rains. To avoid this, on top of good water management, it is always advisable to have some part of the slab in the ground especially along the edges. You can consider having edge beams i.e. making the edges of the slab thicker than the middle in order to have the slab edge inside the ground while the other half protrudes on top of the ground creating a step.
7. Concrete mix strength
Since this is a structural element, expected to bear a good amount of weight, the mix design for the cement should allow you to at least get to C20. This mix design can be different from country to country due to the difference in the quality of locally available materials but generally a ratio of 1:2:3 which means one bucket of cement to two buckets of sand to 3 buckets of aggregate can not go wrong.
Next, let’s look into the actual construction process for the base.
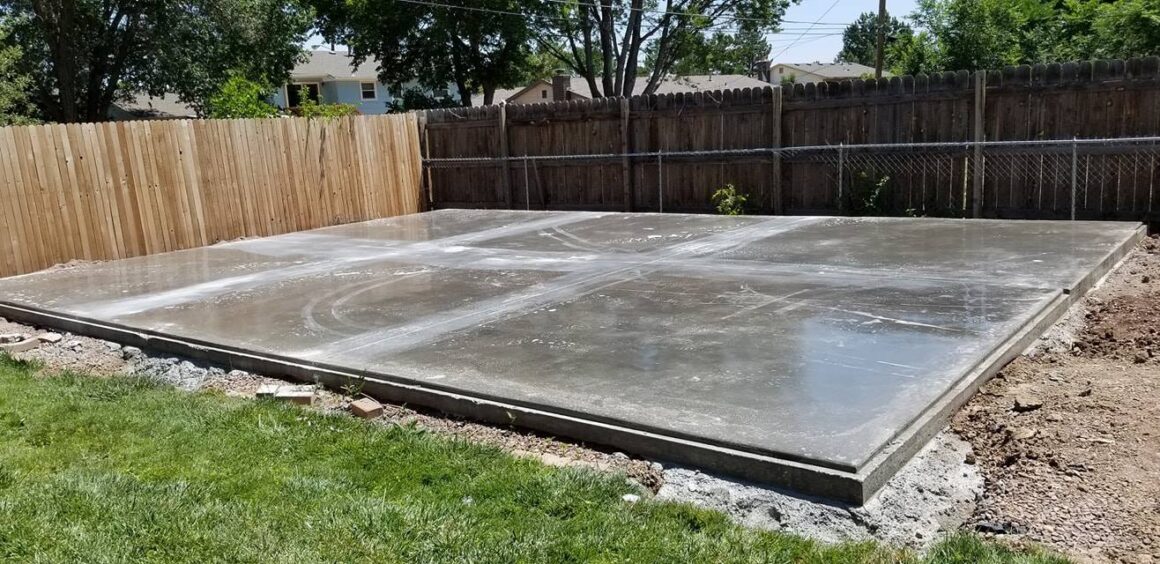
Constructing a shed base
A shed base is done the same way as pouring a slab on ground foundation. Slab on grade foundations are very common in areas with stable soils. What this means is the soils should not expand or contract much in response to the water content. I have already covered how you should respond to soil with low bearing pressure in the article. These slabs are especially common for simple structures such as sheds and garages.
Step 1: Clearance and removal of organic matter
If the proposed site has trees, grass or any other vegetation, ensure that this is removed. Cut down the trees and make sure that the stumps are pulled out from the roots. Remove the top layer of the soil that has organic matter and debris. Clear all these until you have an area of pure soil. Mark out the estimated dimensions for your slab to ensure you have cleared a big enough area.
Step 2: Levelling
Once the organic matter has been cleared, the bottom of slab level is established and the existing ground is compacted to the finished level. If the levels are not sufficient, consider backfilling the area and further compact the soil. If the area has very bad soil, excavate at least 2 feet (600mm) – 1 metre deep and replace with good material. Good material is either harcore or murrum that should then be compacted using a plate compactor after every foot (300mm) of material placed.
Step 3: Formwork
Mark out the area that you would like the slab to cover and put up wooden formwork. The top of the formwork will form the top level. If the slab is rectangular in shape, you can put up three sides first and work on the inside. Especially where the slab has edge beams. You can add crushed stones to attain the levels in the middle of the slab but these must be compacted further. Ensure that your formwork is well supported with pegs at every 2 feet (600mm).
Step 4: Damp protection and reinforcement
The internal area has to be protected underground seepage using a membrane that is laid on the compacted ground. Then reinforcement, which can either be tied bars or a mesh, is placed with sufficient cover( ie, it should not rest directly on the membrane). This helps to regulate the expansion and cooling of concrete and reduce cracking. As mentioned above, while some people may opt out of it, it is always good to have.
Step 5: Placing concrete
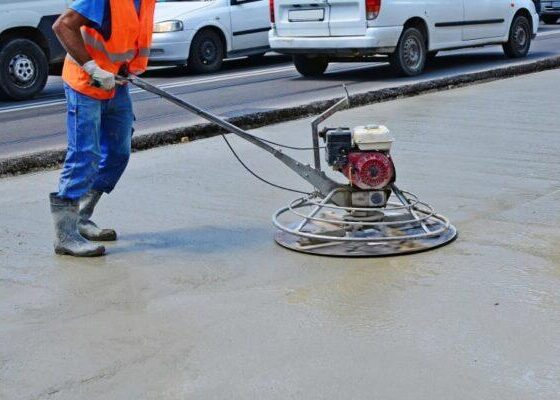
After sufficiently mixing your concrete you should pour it progressively inside the formwork and vibrate it evenly to ensure that the concrete poured is not porous. That is, it does not have air spaces. Use a tamping bar or a long piece of wood or metal tube to level the top to achieve a rough finish. Here are more things to look out for when placing concrete.
Once it has set, you can smoothen it off for a nice finished appearance. This requires some expertise to do. Ensure that your slab is sufficiently cured for at least 7 – 14 days to achieve good strength.
If you have no idea how to mix concrete, here is our introduction to concrete mixing.
I hope this article has been useful. Build wisely!